
Where This Fits in Betaflight
How to Set Up GPS Rescue Mode in Betaflight 4.5 belongs inside the larger topic of flight controller and software setup. The useful comparison is not only which option is newer or more expensive. The useful comparison is how the choice affects UART mapping, power wiring, firmware, filters, OSD, rescue modes, and safe bench testing during a real build, repair, or flying session.
If you lose video feed or control signal during a flight, GPS Rescue automatically pitches the drone up, climbs to a safe altitude, and flies back to your home position.
Set Minimum Satellites: Require at least 8 satellites before arming (set gps_rescue_min_sats = 8).
Set Return Altitude: Configure initial climb height to clear surrounding trees and structures (e.g., 50 meters).
Assign Fail-Safe Switch: Assign GPS Rescue to an AUX switch on your radio for manual panic activation.
Use the article as a decision filter. If the change makes the aircraft easier to verify, easier to repair, and more predictable in the air, it is probably useful. If it only adds another setting without solving a specific problem, document the current setup before experimenting.
Bench Setup That Actually Matters
Start from a known-good baseline. On the bench, inspect connectors, cable routing, screws, antennas, power input, and firmware target before making software changes. In the configurator, move one setting at a time and write down the original value. At the field, fly the first pack close and simple so you can feel whether the change improved confidence or only changed the sound.
| Situation | What to check first | Why it matters |
|---|---|---|
| New build | Wiring, UARTs, motor order, receiver tab | Software tuning cannot fix wrong hardware mapping |
| Noisy flight | Props, frame resonance, motor heat, blackbox data | Mechanical problems often look like PID problems |
| Firmware update | Backup diff, target name, presets, receiver protocol | A restore plan prevents losing a working setup |
| Field issue | OSD warnings, beeper, failsafe, GPS or rescue behavior | Recovery tools must be tested before they are needed |
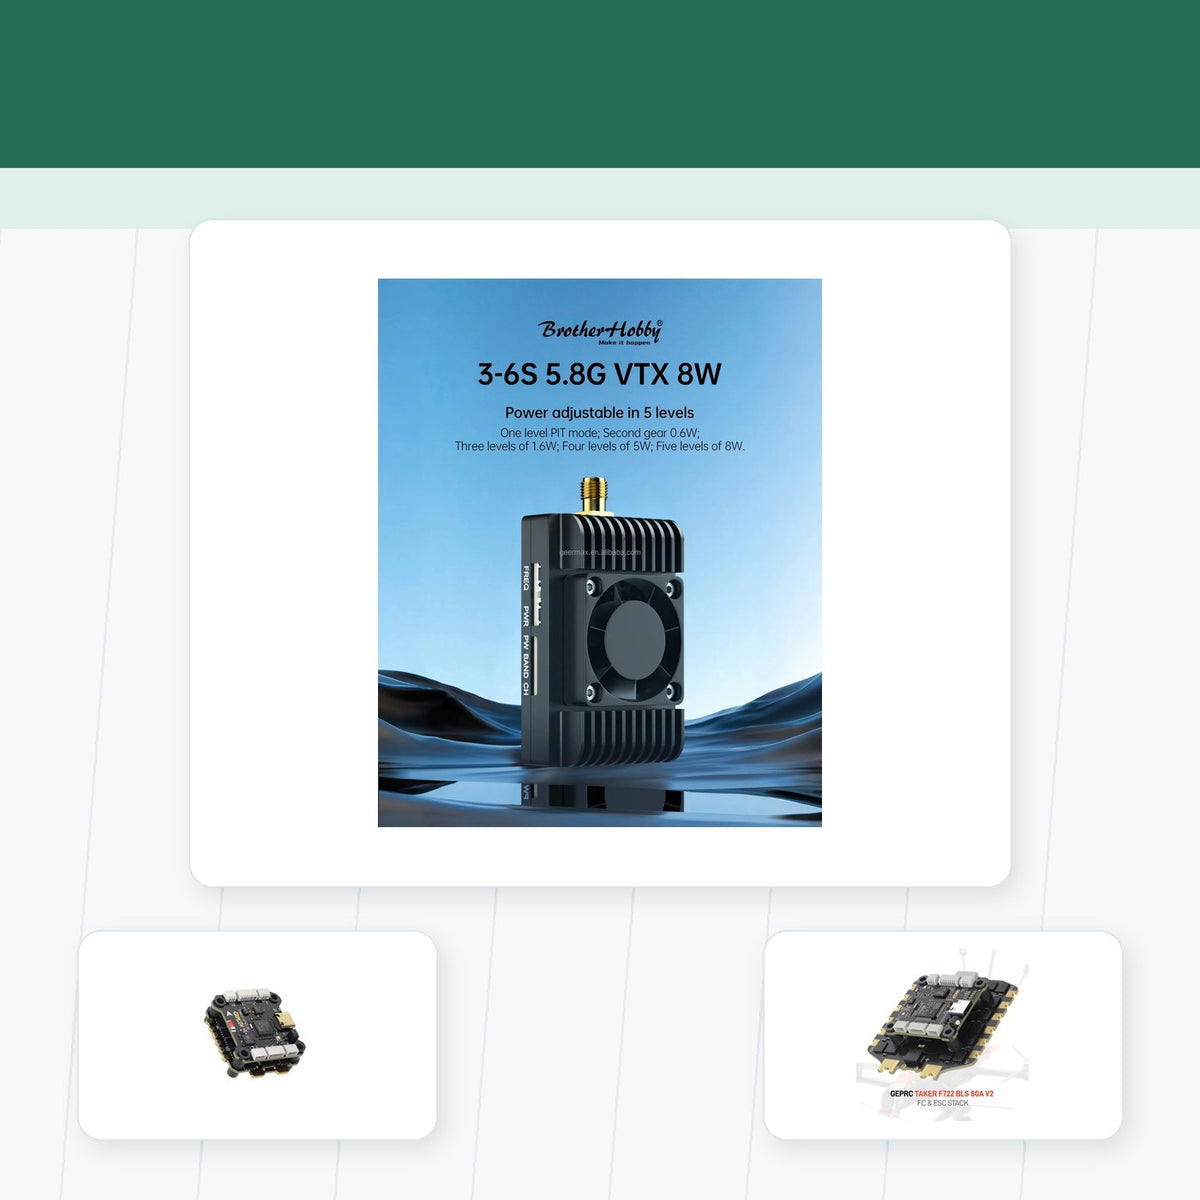
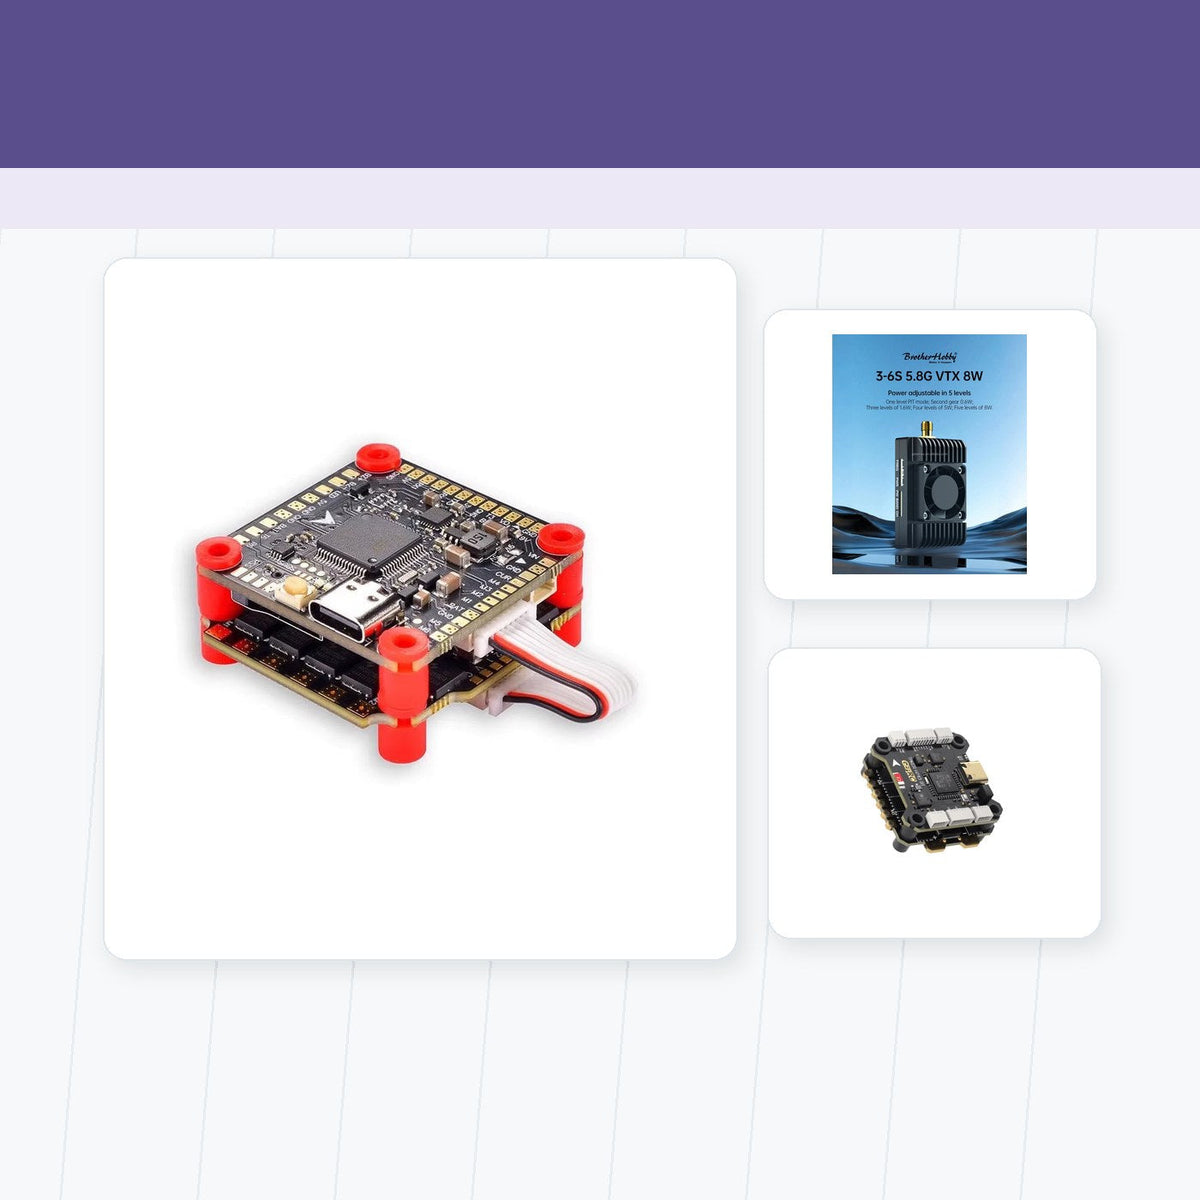
OSD, GPS, beeper, and VTX control all depend on clean wiring and the right peripheral path. Match the flight controller with FPV receivers, FPV video transmitters, and FPV cameras so Betaflight settings control real hardware.
Field Test Before Trusting It
The strongest FPV setup habits are repetitive. Save backups. Label parts. Keep compatible cables in the field bag. Check heat after the first flight. Review DVR or blackbox only after you know the mechanical baseline is healthy. When troubleshooting, avoid changing hardware, firmware, props, rates, and filters all at once.
- Confirm the physical setup before trusting software symptoms.
- Use one controlled test flight after every meaningful change.
- Avoid buying parts only because a spec number is larger.
- Keep notes so future repairs start from a known working setup.
- Land early if video, control, heat, or battery behavior feels wrong.
Practical Checklist Before You Spend More Money
Before replacing parts, ask what evidence you actually have. A shaky image can come from antenna placement, VTX heat, camera mounting, or a damaged coax connector. A bad tune can come from bent props, loose stack screws, soft gummies, motor bearings, or a wrong firmware target. A lost setting can come from skipping backups rather than from a bad flight controller.
Good troubleshooting narrows the problem. Take one photo of the wiring, one screenshot of the current configuration, and one short note after the test flight. If the issue improves, you know which change helped. If it gets worse, you can step back without guessing. That habit saves more money than most upgrades because it keeps a small setup issue from turning into a full rebuild.
Also separate beginner convenience from advanced capability. A feature that helps a racer may distract a first-time builder. A long-range setting may be pointless on a park flyer. A premium receiver module may not matter if the aircraft-side antenna is hidden behind carbon or a battery. Match the article topic to the way the pilot will actually fly this month, not to the most ambitious future version of the build.
Final Takeaway
For new builds, repairs, Betaflight tuning, success usually comes from compatibility and repeatability. A good setup does not need constant guessing. It gives you a stable image, predictable control, readable warnings, and parts that remain cool enough to trust. Build toward that standard and the rest of the FPV workflow becomes much calmer.
Teilen:
Betaflight Presets: How to Safe-Apply Community Tunes and Filters
Betaflight OSD Setup: Crucial Metrics for Every Pilot's Screen