Decide whether to build or buy your first FPV drone by comparing cost, repair skills, soldering risk, setup time, tuning, and beginner confidence.

Building an FPV drone is satisfying, but it is also a full electronics project. Buying a pre-built BNF drone is not lazy; it is often the fastest way to learn what flying feels like. A beginner who has never soldered under magnification, flashed firmware, checked continuity, or diagnosed a bad receiver may spend weeks building before learning a single flight skill.
The Real Tradeoff
| Path | What you gain | What you risk | Best timing |
|---|---|---|---|
| Buy first | Fast setup, known parts, easier first flights | Less repair knowledge at the start | First real FPV drone |
| Build first | Deep understanding, custom part choices, repair confidence | Soldering mistakes, delays, troubleshooting fatigue | Second drone or winter project |
| Repair first | Practical skills without a full build | Requires patience and spare parts | After the first few crashes |
Why Buying First Often Works Better
A pre-built drone gives you a reference point. You learn how a healthy quad sounds, how it arms, how the video feed should look, how hot motors get after a normal flight, and how Betaflight behaves when the receiver is correct. That reference makes later troubleshooting much easier. Without it, every problem feels like a mystery.
Buying first also protects your motivation. Simulator practice already requires patience. If the first real aircraft adds solder bridges, bootloader problems, incorrect UART wiring, and dead VTX output, many beginners stall before the hobby becomes fun.
When Building Makes Sense
Build when you can name the aircraft you want and explain why the parts match. For example: you want a 5-inch freestyle frame, a 6S motor KV range, a specific FC/ESC stack, ELRS receiver, analog or digital VTX, camera size, antenna mount, and prop style. If those choices still feel like acronyms, buy or repair first.
A good middle path is controlled repair. Replace props, then an arm, then a motor, then an antenna, then a receiver. By the time you replace an FC/ESC stack, you will understand the build process far better than someone starting from a bare frame on day one.
FPVSupplyCo Build Path
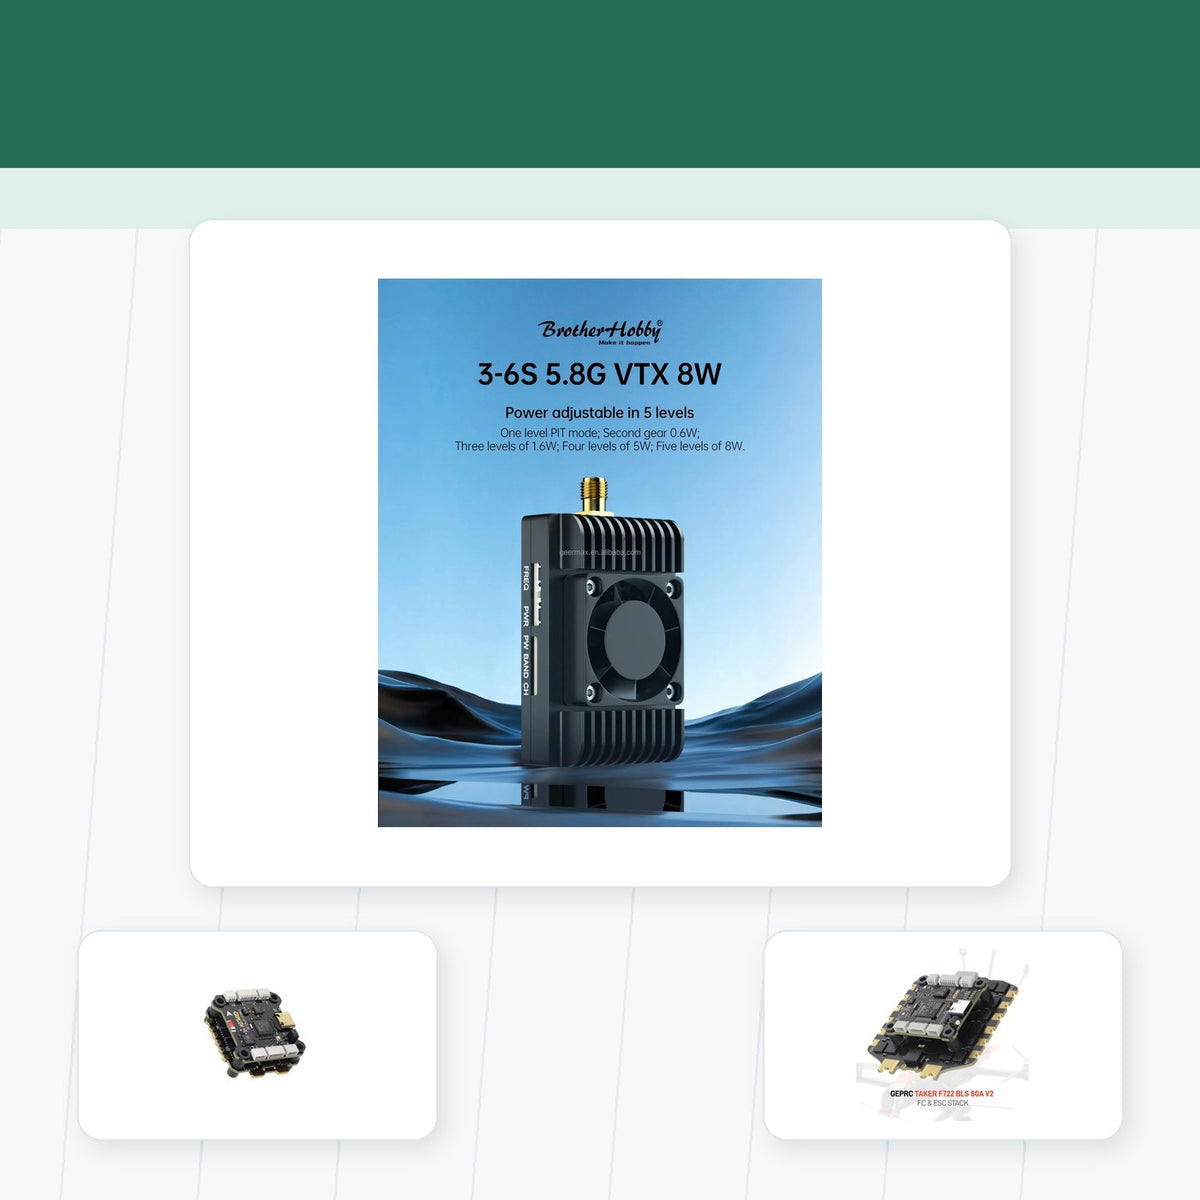
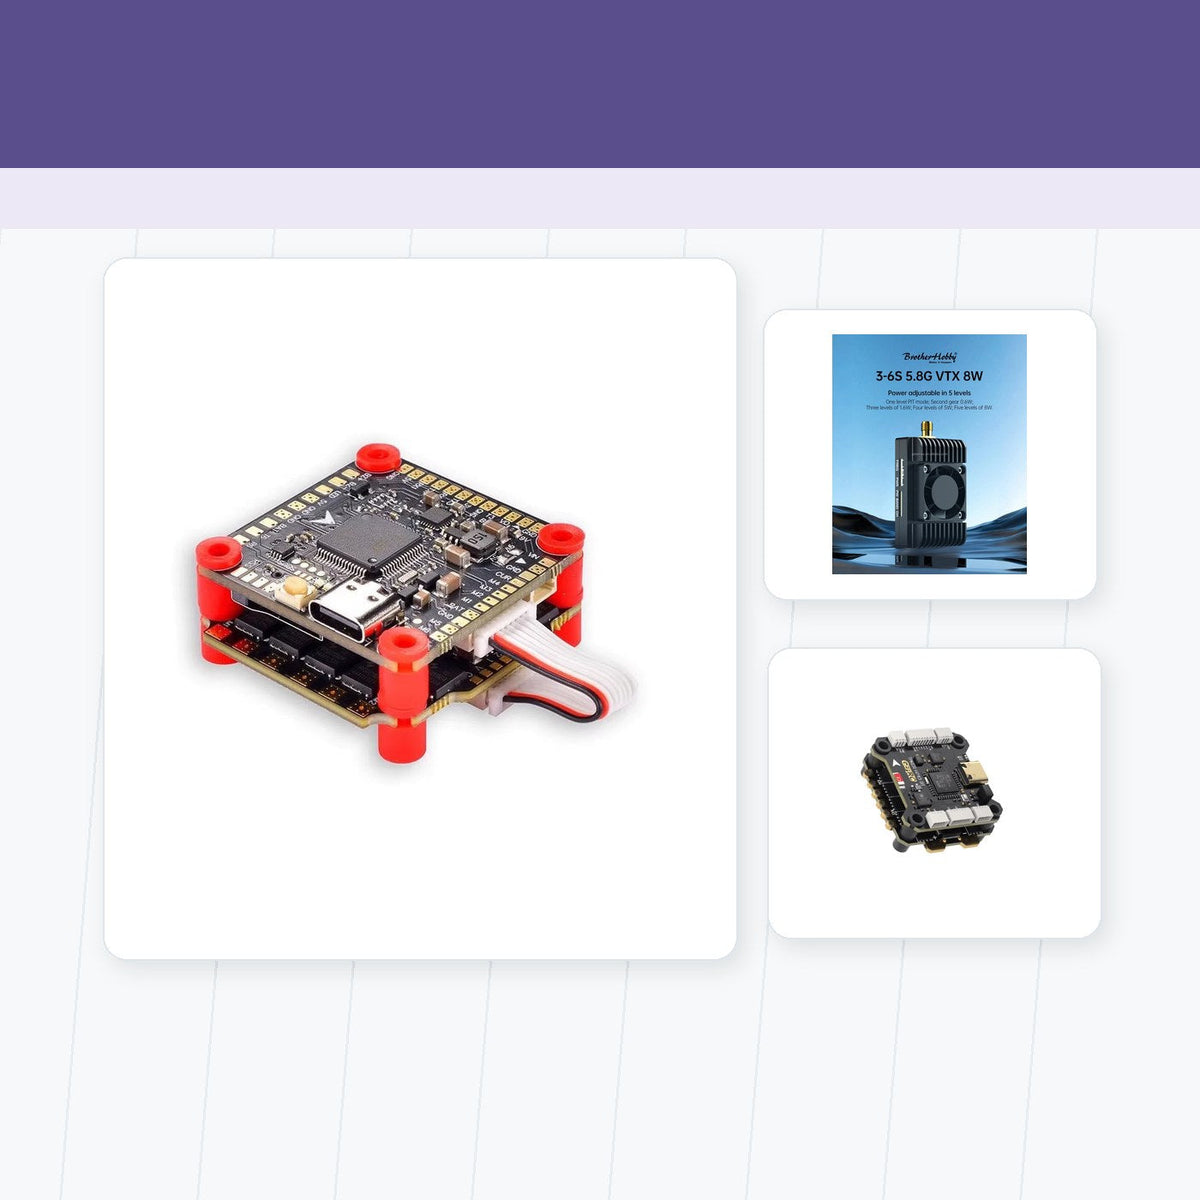
For a first flying setup, start with ready-to-fly and bind-and-fly FPV drones. For repair or second-build planning, compare carbon fiber FPV frames, brushless FPV motors, and FC and ESC stacks. If video problems are your weak point, keep FPV video transmitters and FPV cameras on your research list.
Repair Skill Ladder
- Swap props and learn motor direction.
- Replace a broken antenna or canopy.
- Replace an arm and inspect frame hardware.
- Solder a motor wire cleanly and check continuity.
- Bind or replace a receiver.
- Replace a VTX or camera.
- Replace an FC/ESC stack and rebuild the software configuration.
Workshop Notes
Use a smoke stopper when powering a repaired build for the first time. Check continuity before connecting a LiPo. Keep props off for software setup. Save a Betaflight diff before changing firmware or replacing a flight controller. These habits are not glamorous, but they make the difference between a repair session and a pile of burnt electronics.
Builder References
- Betaflight Getting Started
- Betaflight Configurator
- ExpressLRS Getting Started
- Academy of Model Aeronautics Safety
Practical Checklist for Build or Buy Your First FPV Drone? Costs, Repairs, and Best Choice
Use the following checklist to turn the comparison or procedure in this guide into a repeatable decision. Start with the equipment and conditions you actually use, document the current working state, and avoid changing several variables at once.
- List the tools, charger, batteries, radio, goggles, and spare parts in the budget, not only the aircraft.
- Choose a prebuilt model when flight time and a proven configuration matter more than learning assembly immediately.
- Choose a DIY build when repair knowledge, component control, and long-term experimentation are central goals.
- Check local parts availability because a cheap aircraft can become expensive when replacements are difficult to source.
- Keep the first setup simple enough that one failed component can be diagnosed without rebuilding the entire system.
How to Validate the Result
Define a clear success condition before testing. For Build or Buy Your First FPV Drone? Costs, Repairs, and Best Choice, that might be stable operation, lower temperature, cleaner video, more predictable control, easier maintenance, better compatibility, or a safer workflow. Record the starting configuration, complete one controlled change, and compare the result under the same conditions. If the outcome cannot be repeated, treat it as an observation rather than a proven improvement.
Photograph wiring and mounting, save configuration files, and note component models and firmware versions where relevant. These records are especially useful after a crash, repair, software update, or equipment swap. They also make it easier to explain the setup to another pilot, technician, or purchasing team without relying on memory.
Before relying on the result, repeat the test under representative conditions and record the hardware, firmware, settings, environment, and outcome. A known-good baseline makes future upgrades and troubleshooting faster because each change can be compared with evidence instead of memory.
Revisit this checklist whenever the aircraft, battery, video or control system, payload, software, or operating environment changes. Confirm manufacturer documentation and local requirements where safety, radio transmission, batteries, airspace, or professional operations are involved.
Share:
How to Calibrate FPV Radio Gimbals, Switches, and Simulator Controls
Acro Mode vs Angle Mode in FPV: Beginner Flight Modes Explained