
Selecting the right receiver form factor guarantees optimal weight distribution and range performance for your quad.

How to Choose the Best ELRS Receiver (T-Antenna vs. Ceramic Tower Antenna) matters because the radio link is the part of an FPV build you trust every second of a flight. A good choice feels invisible: sticks respond cleanly, telemetry is readable, and the aircraft does exactly what the selected model profile expects.
1. Integrated SMD Ceramic Antenna (SMD / Tower)
Weight: Under 0.5g.
Pros: No floppy wires to cut in propeller strikes! Completely indestructible.
Cons: Reduced range compared to dipole antennas (approx. 1-2km line-of-sight).
Best For: Tiny Whoops, 2-inch and 3-inch toothpick quads.
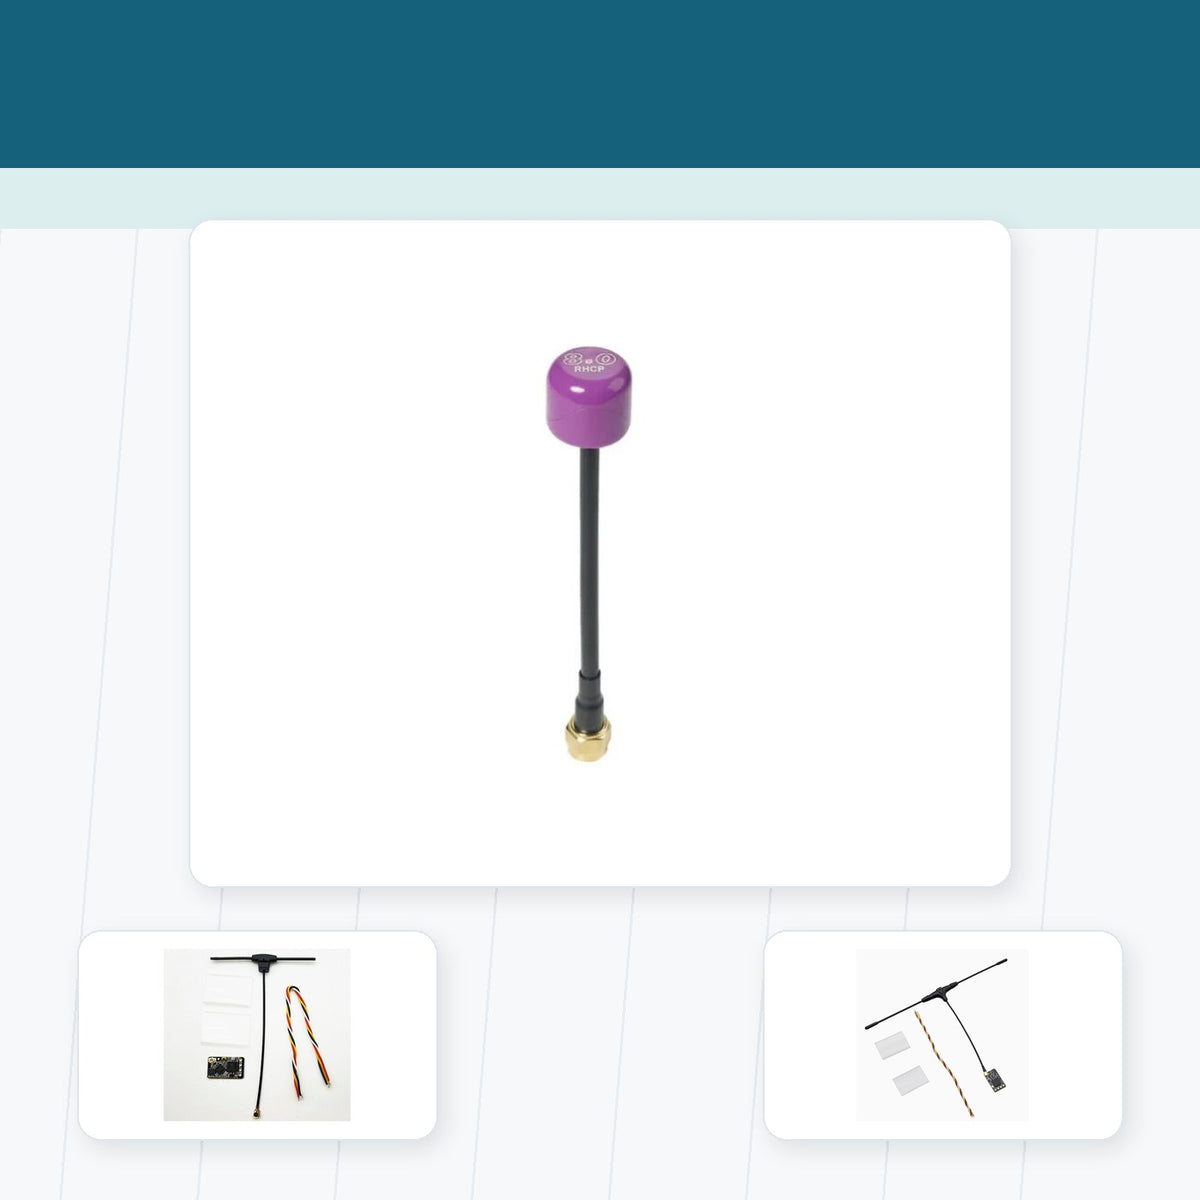
2. External Dipole T-Antenna (EP1 / RP1 Type)
Weight: ~0.8g - 1.2g.
Pros: Longest range performance (10km+) and true omnidirectional coverage.
Cons: Flexible antenna wires require proper TPU mounting away from carbon frame and props.
Best For: 3.5-inch to 5-inch freestyle and racing quads.
Receiver choice is a real buying decision. Compare FPV receivers and ELRS RX gear and choose the antenna style around the aircraft, not only around the advertised maximum range.
Buying Framework
| Pilot type | Best direction | Why |
|---|---|---|
| Beginner | Simple internal 2.4GHz ELRS radio | Fewer modules, easy simulator use, broad receiver support |
| Freestyle pilot | Comfortable gimbals plus dynamic power | Better stick control and link margin |
| Long-range pilot | Sub-GHz receiver plan where legal | More antenna planning but stronger distance focus |
Practical Takeaway
How to Choose the Best ELRS Receiver (T-Antenna vs. Ceramic Tower Antenna) should make your FPV setup easier to trust, not more complicated. Use the plan above as a field decision tool: choose the hardware or setting that reduces failure points, test it on the bench, then verify it in a controlled first flight.
Why Antenna Choice Matters
The receiver antenna is small, cheap, and easy to underestimate. It is also the part of the radio link most exposed to bad mounting. A great receiver with a poorly placed antenna can perform worse than a simple receiver installed cleanly.
Carbon fiber blocks and detunes antennas. Batteries, VTX wires, HD camera cables, and metal hardware can also hurt placement. Before choosing an antenna style, look at the aircraft frame and ask where the antenna can sit safely away from props, carbon, and heat.
Ceramic Antennas
Ceramic antennas are compact and tidy. They are popular on tiny whoops and small toothpick builds because there may be no room for a longer external antenna. The tradeoff is that placement becomes very important. If the receiver is buried deep in the frame, range and link quality can suffer.
Use ceramic antennas where size matters more than maximum link margin. They are excellent for small aircraft flown reasonably close, indoor practice, and lightweight builds where every gram counts.
T-Antennas and External Antennas
A T-antenna or external antenna gives more mounting flexibility and can improve orientation consistency. It is usually a better fit for freestyle quads, larger builds, and aircraft that may fly farther away. The downside is that it must be protected from props and crashes.
Mount external antennas so the active elements are clear of carbon and not bent sharply. Use heat shrink, printed mounts, or soft strain relief where needed. A clean antenna mount is part of the radio system, not just a finishing detail.
Diversity Receivers
Diversity receivers use more than one antenna path to improve link robustness. They make sense on aircraft where control reliability is critical and space allows correct installation. They are less useful if both antennas are mounted poorly in the same orientation or hidden by the same carbon structure.
For most beginners, a normal 2.4GHz receiver installed well is enough. Upgrade antenna complexity only when the aircraft and mission justify it.
Crash Durability
Antenna choice is also about crash survival. A perfectly exposed antenna may perform well but break easily in freestyle crashes. A protected antenna may survive better but lose some ideal orientation. The right answer depends on how and where you fly.
For micro builds, durability often wins because crashes are frequent and space is tight. For long-range builds, performance and clean orientation usually matter more because the aircraft is flying farther away and link margin is more valuable.
Inspection Routine
Inspect the antenna after hard crashes. Look for broken coax, bent active elements, loose U.FL connectors, crushed heat shrink, or antenna mounts that shifted into carbon. Many link problems begin after a crash but are not noticed until the next flight.
If link quality suddenly gets worse on an aircraft that used to fly well, antenna damage should be one of the first checks. Replacing a small antenna is cheaper than losing a drone while assuming the receiver failed.
Do Not Chase Maximum Range Claims
Advertised range numbers assume ideal conditions that rarely match a real FPV build. Choose the antenna that fits the aircraft and survives the mission. A slightly less theoretical antenna installed cleanly is better than a perfect antenna bent into carbon or snapped off in the first crash.
For most pilots, consistent link quality at normal flying distance matters more than a dramatic maximum range number.
Share:
GEPRC FPV Parts Guide: Motors, VTX, Flight Controllers & ESC Stacks
TBS Tracer vs. ExpressLRS 2.4GHz: Low-Latency Protocol Shootout