
Updating ExpressLRS firmware keeps your transmitter module and receiver on compatible versions, unlocks newer features, and prevents confusing bind or telemetry problems.

Before You Flash
Identify the exact transmitter module or receiver target. Do not guess from a similar-looking product photo. ELRS firmware targets are hardware-specific, and the wrong target can waste time or temporarily brick a device until recovered.
Also decide your binding phrase before compiling firmware. If your whole fleet uses the same phrase, future binding becomes much easier.
Typical Flashing Workflow
- Install ExpressLRS Configurator from the official project source.
- Select the correct device category, manufacturer, and target.
- Choose a firmware version compatible with your transmitter and receiver.
- Enter your binding phrase and regional settings where appropriate.
- Build and flash by USB, EdgeTX passthrough, or Wi-Fi depending on the device.
- Power-cycle and verify Lua script connection, telemetry, and receiver movement.
Wi-Fi Flashing
Many ELRS devices can enter Wi-Fi mode after being powered without a connection for a set period. You connect your computer or phone to the ELRS Wi-Fi network, open the device page, and upload the firmware file.
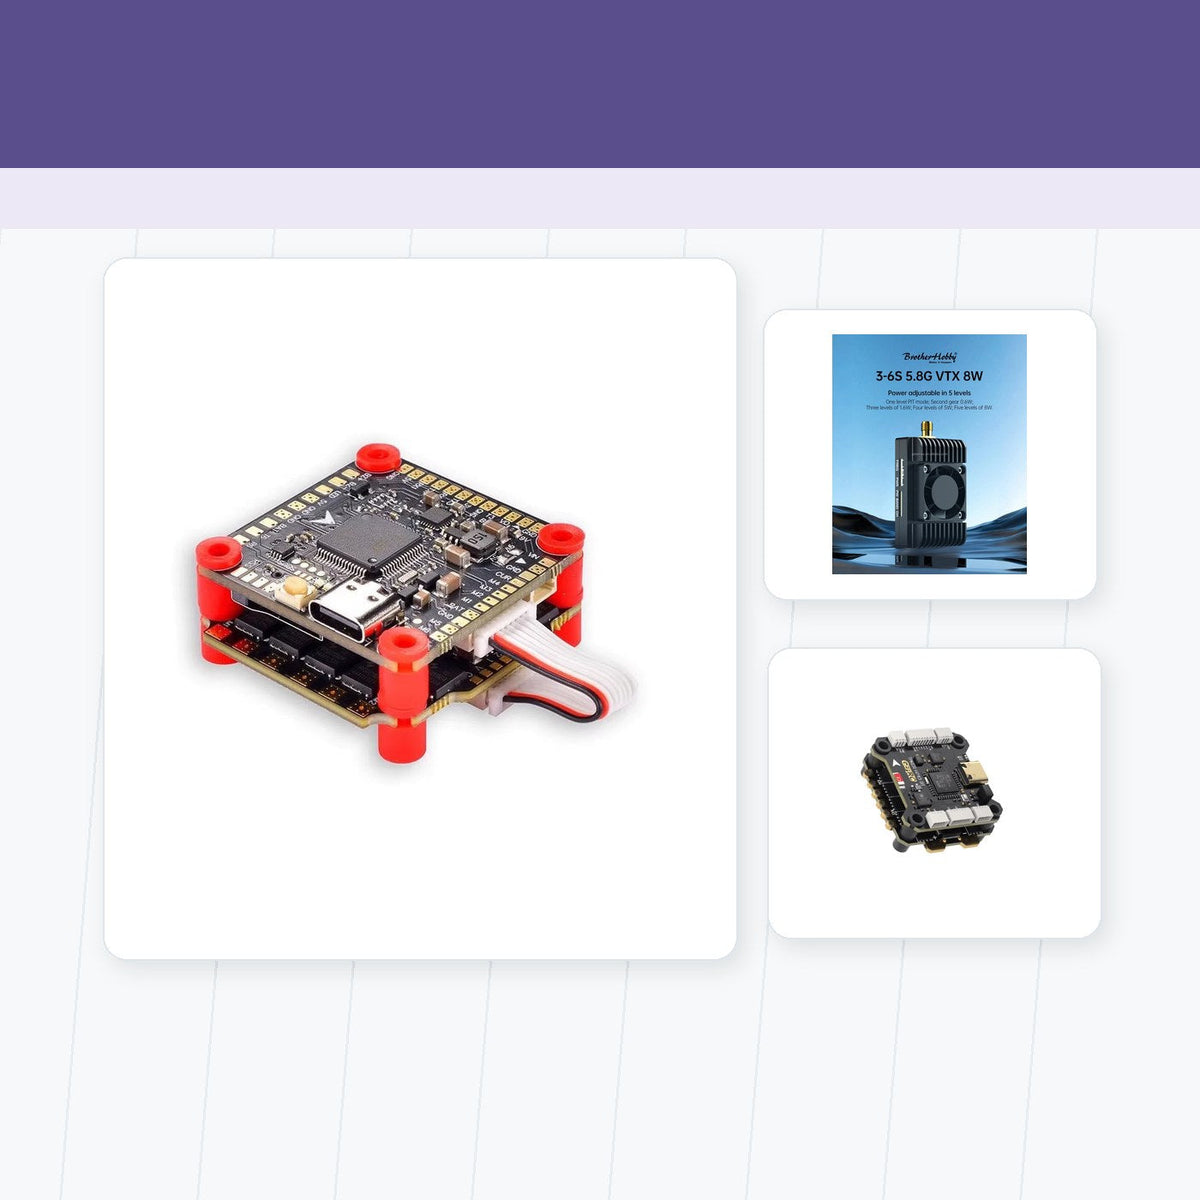
This is especially helpful when the receiver is already installed in a tight drone. A clean receiver installation with good UART wiring to a flight controller and ESC stacks makes firmware and setup work less painful later.
Common Mistakes
- Flashing transmitter and receiver to incompatible major firmware versions.
- Choosing the wrong hardware target.
- Forgetting to re-enter the binding phrase after changing configurator profiles.
- Using a charge-only USB cable when flashing a radio or module.
- Testing with props on during bench work.
After Flashing
Open the ELRS Lua script in EdgeTX and confirm the module responds. In Betaflight, check the Receiver tab, channel map, arm switch, failsafe, and telemetry before flying.
Official References
Why Firmware Updates Go Wrong
Most ELRS flashing problems come from three causes: the wrong target, incompatible major versions, or a binding phrase that is not identical on both sides. The hardware target matters because many receivers look similar but use different layouts. Major version compatibility matters because a v2 transmitter and a v3 receiver will not behave like a matched pair.
The binding phrase is equally unforgiving. An extra space, different capitalization, or old phrase saved in a different configurator profile can make the receiver look broken even when the firmware flashed correctly. Treat the phrase like a setup credential and store it somewhere reliable.
USB, Wi-Fi, and Passthrough
There are several flashing methods. USB is common for external modules and some radios. Wi-Fi mode is convenient for receivers already installed in a drone. Betaflight passthrough can flash a receiver through the flight controller, but it depends on correct wiring and configuration. If passthrough fails, the receiver may still be fine; the path to it may be the problem.
Use the simplest method available for the device in front of you. A beginner does not need to master every flashing route immediately. The practical goal is a repeatable workflow that gets the transmitter and receiver onto compatible firmware without guessing.
Post-Flash Verification
After flashing, do not jump straight to a flight. Open the ELRS Lua script and confirm the radio can talk to the module. Then open Betaflight and check the Receiver tab. Move every stick, flip every switch, and verify the channel order. Confirm the arm switch does not arm unexpectedly.
Next, test failsafe with props removed. Power the drone, confirm receiver movement, then turn off the radio and watch how the flight controller responds. A correct firmware update is not complete until the aircraft reacts safely when the link disappears.
Maintenance Habit
Write down the firmware version used on each aircraft. When you add a new receiver later, you will know whether to match the existing fleet or update everything together. This small habit prevents the classic weekend problem where three drones are on three different versions and none of them behaves the way you expect.
Updating a Whole Fleet
If you own several ELRS aircraft, do not update them randomly. Pick a firmware version, update the transmitter first, then update one receiver and test it completely. After that single aircraft works, repeat the process for the rest. This avoids a situation where every drone is half-updated and none of them can fly.
Keep firmware files or notes until the fleet is stable. If one receiver behaves differently, you can compare the target, version, phrase, and flashing method against a known-good setup.
When Not to Update
Do not update firmware the night before a race, trip, or important flight unless you are fixing a specific problem. Stable equipment is more valuable than a new feature you have not tested. If the current link is reliable and you have no compatibility reason to change, schedule updates for a bench session when you have time to verify everything.
Good firmware maintenance is calm and boring. Flash, test, document, and then fly close before trusting the update on a demanding route.
Recovery Planning
Before flashing, know how you would recover if the update fails. Save the target name, firmware version, and build options before pressing flash. If Wi-Fi update does not work, try USB or passthrough only after confirming the receiver is powered correctly. A failed flash is rarely the end of the hardware; it is usually a signal to slow down and use a cleaner method.
Share:
How to Mount Digital HD Air Units into 3.5-Inch Frames
How to Install and Run ELRS Lua Script on EdgeTX Radios