
A 3.5-inch FPV frame can be a sweet spot for HD flying, but the smaller body leaves little room for heat, antenna routing, and clean wiring. Digital air units need to be planned into the build from the beginning.

Measure the Frame Before Buying Parts
Check internal height, mounting pattern, camera width, stack height, and battery strap path. A frame that looks roomy in a photo may become crowded once the FC stack, capacitor, receiver, and air unit are all installed.
If you are still choosing the platform, compare carbon fiber FPV frames and look for service access as well as pure weight.
Clearance Checklist
| Area | Target | Reason |
|---|---|---|
| Internal height | Enough room above heatsinks | Prevents heat buildup |
| Antenna exit | Clear rear or top path | Avoids carbon and battery shadowing |
| Camera bay | Correct width and screw spacing | Protects lens and simplifies angle setup |
| USB access | Reachable after assembly | Makes configuration less painful |
Mounting and Cooling
Use TPU mounts when they solve a real problem: antenna strain relief, air unit isolation, or camera fit. Do not use soft material in a way that blocks airflow over a heatsink.
Digital systems dislike long bench sessions without airflow. Configure quickly, use a small fan when needed, and avoid wrapping the air unit in heat-trapping foam or tape.
Build Order That Prevents Rework
- Test-fit the air unit and FC stack before soldering final wires.
- Route camera and antenna cables before tightening the top plate.
- Leave enough slack for vibration but not enough for prop contact.
- Power the system briefly and confirm OSD before heat builds up.
Small Frame, Big Lesson
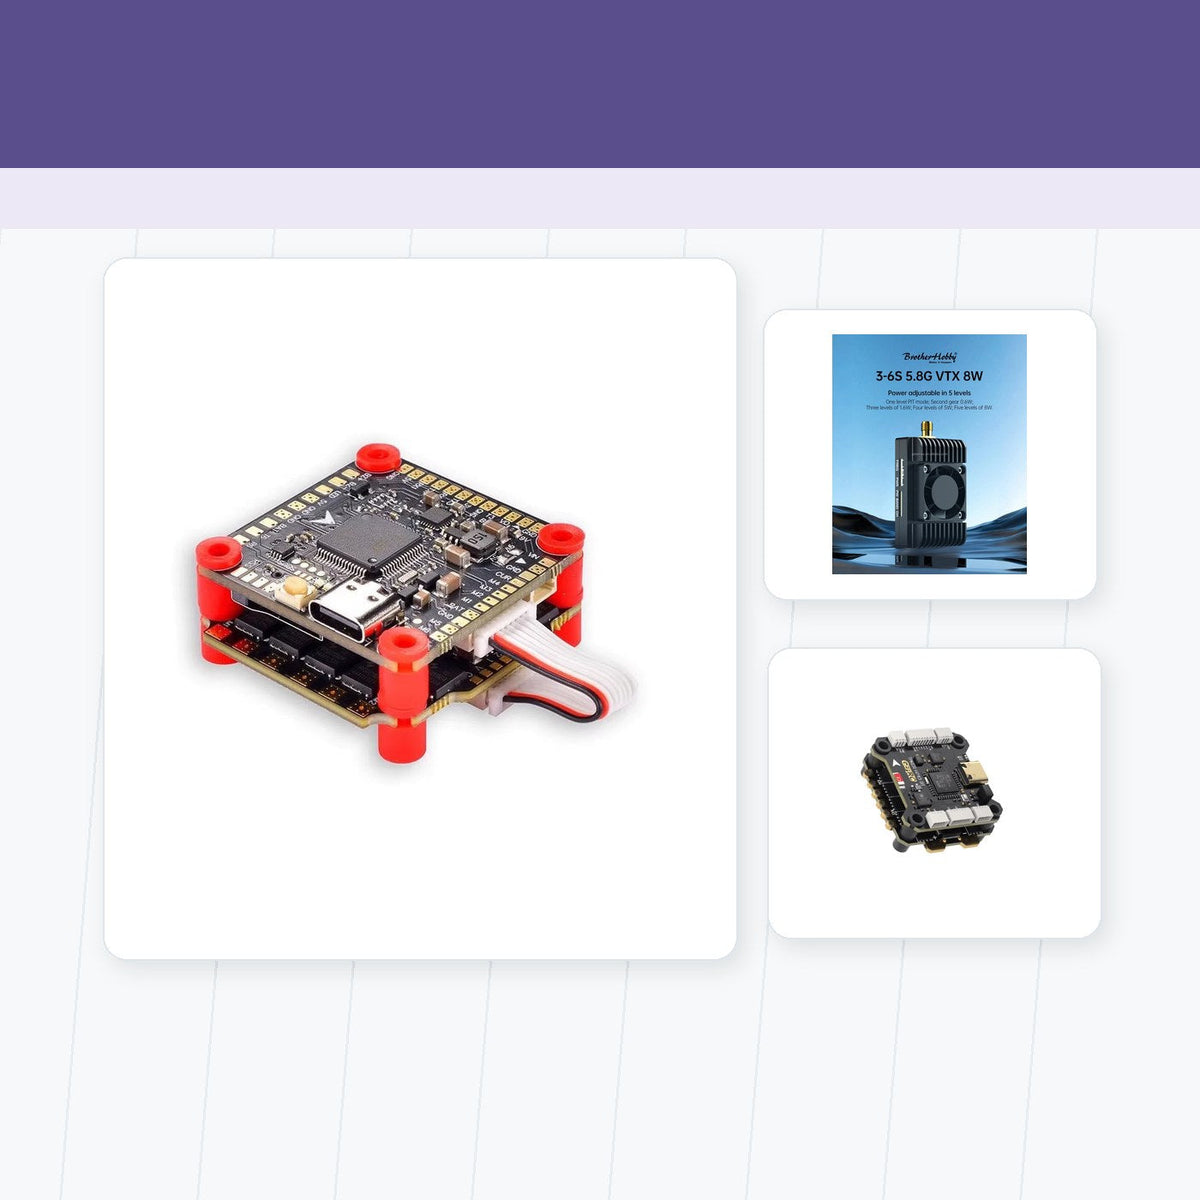
Reliable 3.5-inch HD builds come from clean integration. A compact flight controller and ESC stacks, thoughtful antenna path, and a frame with real airflow matter more than forcing the newest air unit into the smallest possible cavity.
If the build is painful to service on the bench, it will be worse after a crash. Leave yourself a way back in.
Build References
Practical Checklist for How to Mount Digital HD Air Units into 3.5-Inch Frames
Use the following checklist to turn the comparison or procedure in this guide into a repeatable decision. Start with the equipment and conditions you actually use, document the current working state, and avoid changing several variables at once.
- Measure the air-unit body, cable bend radius, camera width, and connector access before choosing the frame position.
- Provide airflow around the transmitter and avoid enclosing heat-producing hardware in foam.
- Protect the camera cable from propellers, carbon edges, and repeated bending during repairs.
- Use soft mounting only where it does not allow the unit to strike the frame during impact.
- Complete a video, recording, temperature, and failsafe test before finalizing cable ties and covers.
How to Validate the Result
Define a clear success condition before testing. For How to Mount Digital HD Air Units into 3.5-Inch Frames, that might be stable operation, lower temperature, cleaner video, more predictable control, easier maintenance, better compatibility, or a safer workflow. Record the starting configuration, complete one controlled change, and compare the result under the same conditions. If the outcome cannot be repeated, treat it as an observation rather than a proven improvement.
Photograph wiring and mounting, save configuration files, and note component models and firmware versions where relevant. These records are especially useful after a crash, repair, software update, or equipment swap. They also make it easier to explain the setup to another pilot, technician, or purchasing team without relying on memory.
Before relying on the result, repeat the test under representative conditions and record the hardware, firmware, settings, environment, and outcome. A known-good baseline makes future upgrades and troubleshooting faster because each change can be compared with evidence instead of memory.
Revisit this checklist whenever the aircraft, battery, video or control system, payload, software, or operating environment changes. Confirm manufacturer documentation and local requirements where safety, radio transmission, batteries, airspace, or professional operations are involved.

Share:
How SmartAudio and Tramp Protocol Work in Betaflight
How to Flash and Update ExpressLRS Firmware