
Video loss behind obstacles is one of the classic FPV surprises. The drone is not far away, the battery is fine, and then the image tears apart because a tree line, building, hill, or concrete wall blocks the path between antennas.

You cannot fully defeat physics, but you can make the video link much more forgiving. The goal is to improve the path between the drone antenna and the receiving antenna, then avoid flying in ways that give the system no chance to recover.
Start with Pilot Position
Before changing parts, change where you stand. A few meters of elevation can make more difference than a new transmitter. Stand where your goggles or receiver have the clearest view of the flight area. Avoid placing yourself behind vehicles, metal fences, buildings, or dense trees.
If the obstacle is between you and the drone, a stronger VTX is only a partial fix. Better line of sight reduces the amount of signal that has to bend, reflect, or pass through material.
Use the Right Antenna Mix
A common analog setup is one circular polarized omni antenna plus one patch antenna on a diversity receiver. The omni covers general flying around you. The patch aims gain toward the area where you expect weak signal. If you fly a long corridor, tree line, or distant section of a field, point the patch there.
On the drone, keep the antenna high enough and clear enough that the battery and carbon frame do not shadow it. Crashes can bend antennas into bad positions, so inspect the mount before every serious flight.
Check the Aircraft Side
- Make sure the VTX antenna is not damaged, loose, or partly unscrewed.
- Confirm the VTX power level after firmware updates or configuration changes.
- Use the right antenna polarization on both sides of the link.
- Keep high-power VTX units cooled and powered from a clean supply.
- Do not route antenna cables where props can nick them.
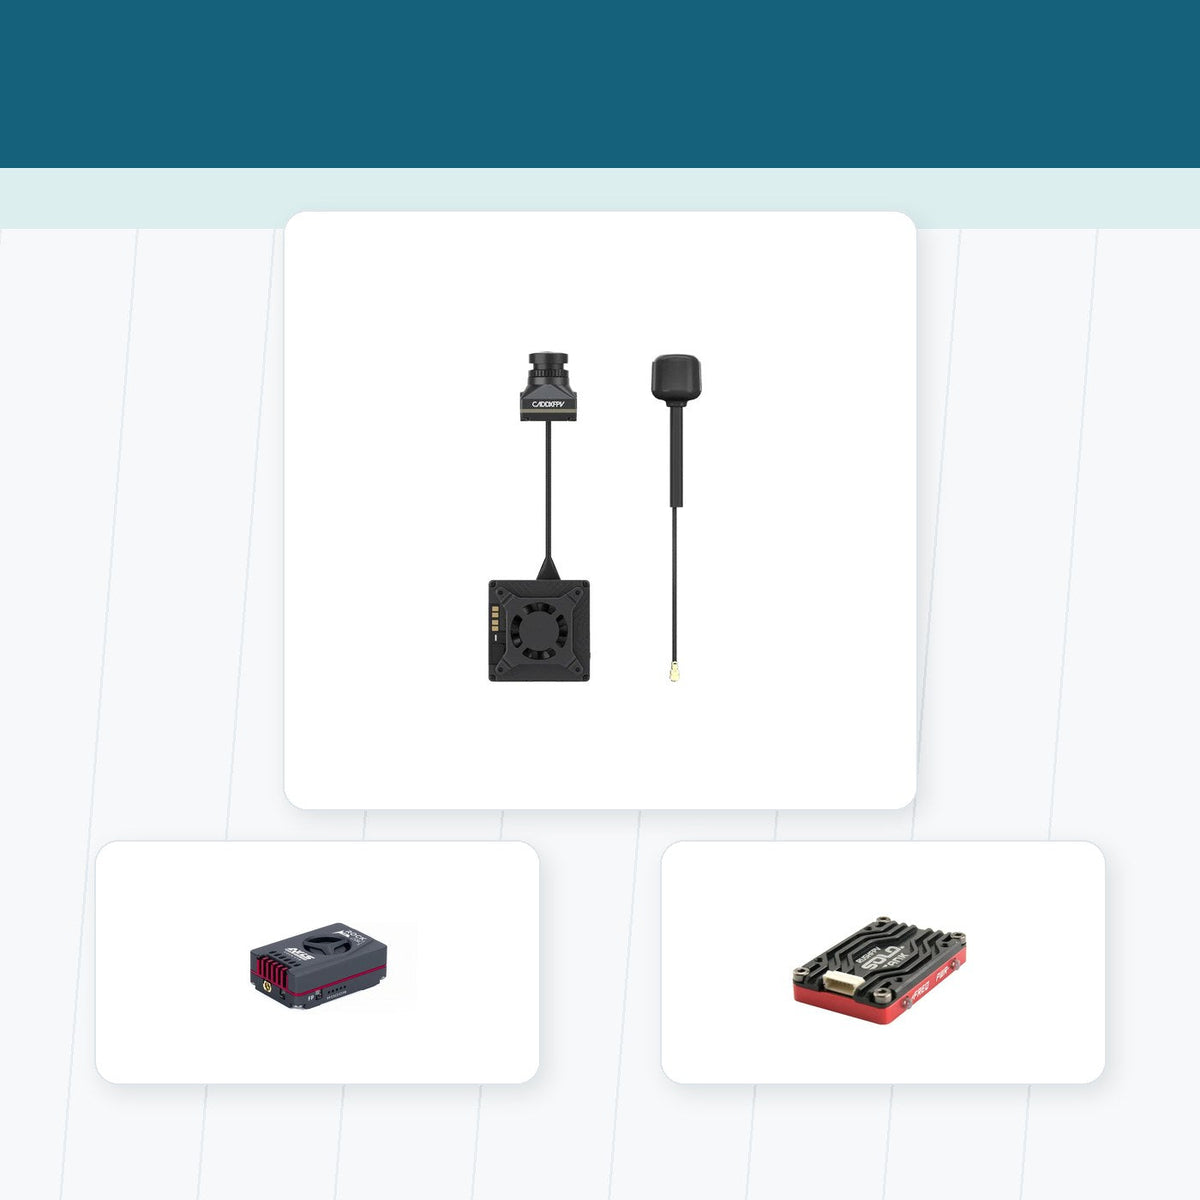
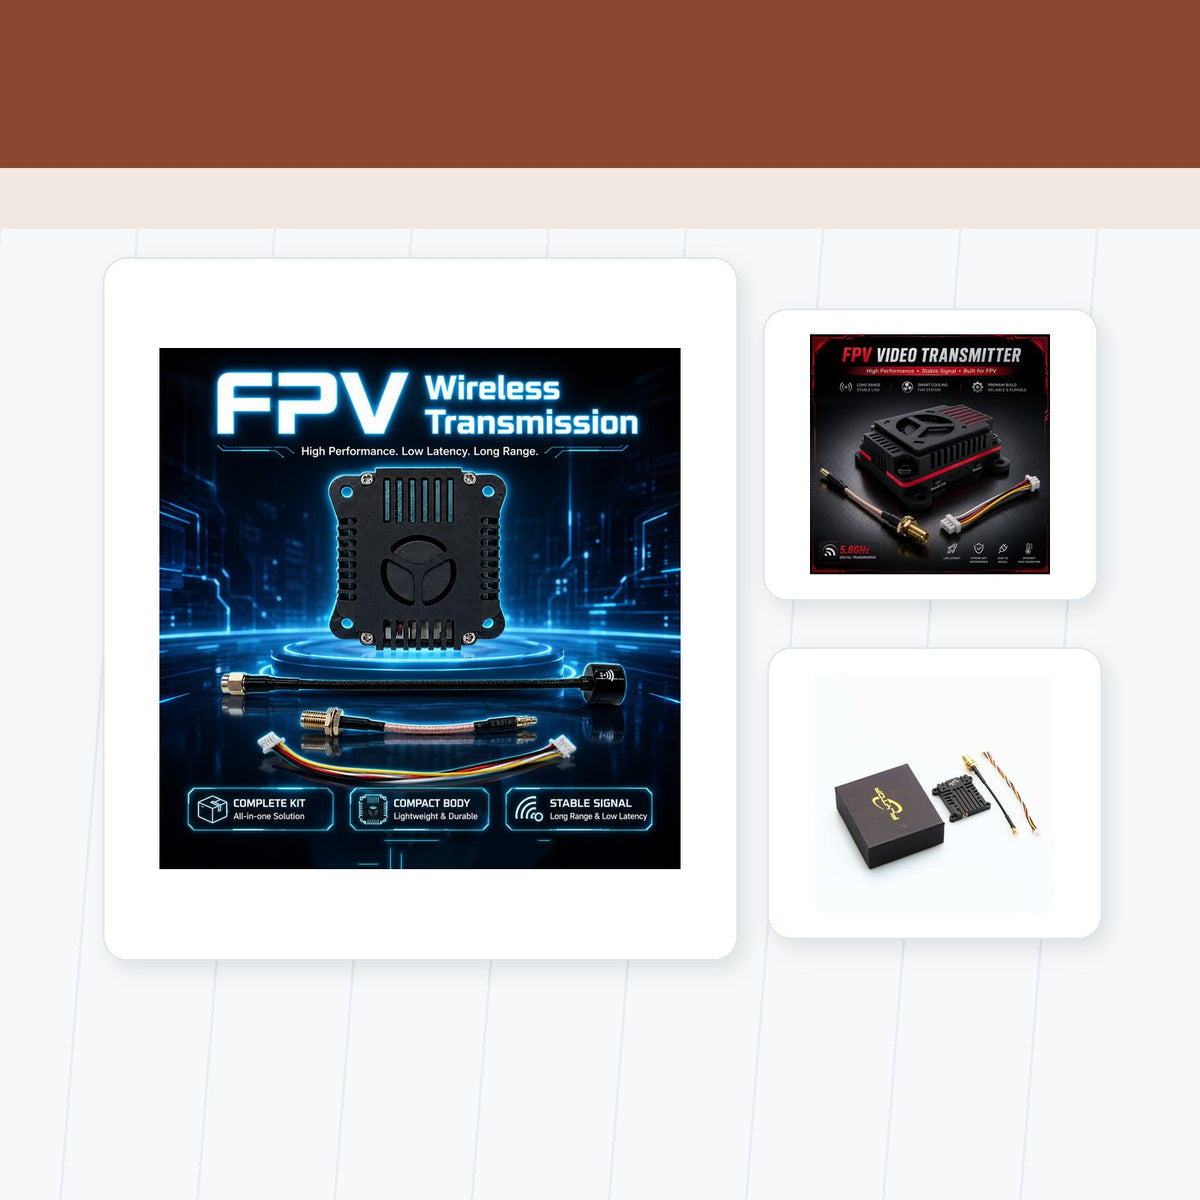
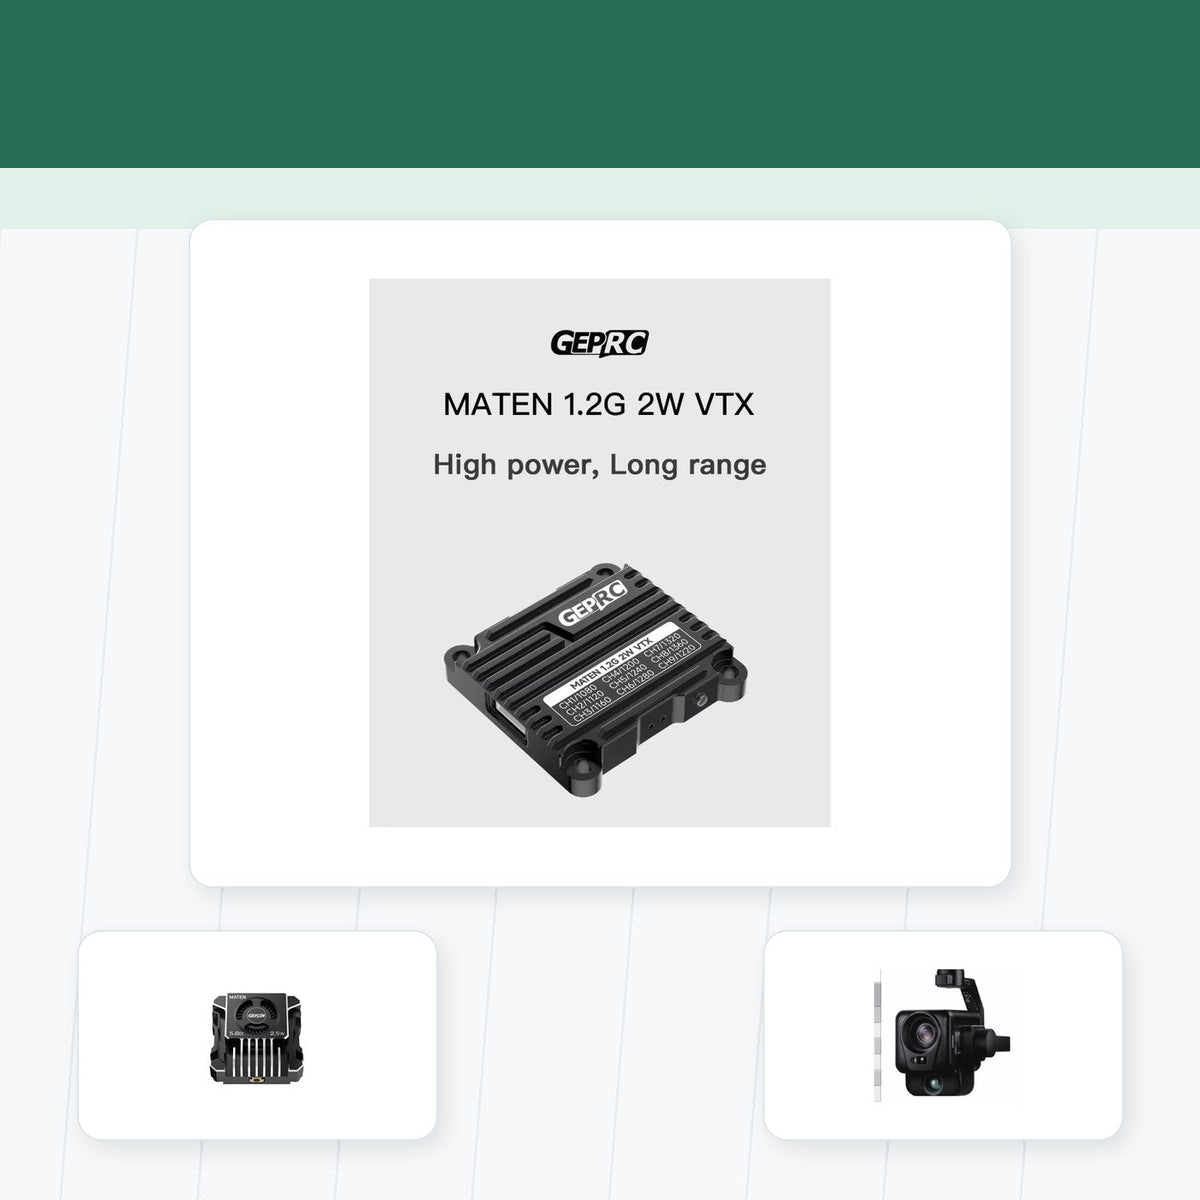
For long-range or obstacle-heavy analog builds, compare transmitters such as the 2.5W high-power FPV video transmitter, 3W ultra-power FPV video transmitter, or dual-band 4.9G/5.8G FPV video transmitter. A high-power VTX can help, but it should be combined with smart antenna placement and legal operation.
Frequency Choices and Environment
5.8GHz is the most common FPV video band, but it does not love dense obstacles. In some specialized builds, lower-frequency video options can improve penetration or distance. The tradeoff is bigger antennas, more setup complexity, and a stronger need to check local rules.
Urban environments add more reflections and RF noise. Forests add trunks, leaves, moisture, and uneven terrain. Concrete adds mass. In each case, fly gradually into the area, watch how the signal degrades, and leave yourself an escape line.
Power Is Not Permission to Fly Blind
Raising VTX power can increase the margin, but it can also overheat hardware and interfere with other pilots. It does not make corners transparent. If your video gets weak behind a building, climbing slightly or moving laterally may restore the path faster than pushing deeper.
Good pilots build habits around recovery: turn back before total loss, keep altitude over problem areas, avoid diving behind obstacles without a line out, and set failsafe behavior correctly. Video confidence and control-link confidence should both be considered before trying difficult terrain.
Practical Field Workflow
Walk the spot first. Stand higher if possible. Aim the patch toward the weak zone. Fly one cautious test pass. Review DVR. Adjust antenna angle. Increase VTX power only after the placement and channel choice are sensible. This method is slower than guessing, but it protects drones and saves repair time.
Signal improvement is usually a stack of small wins: better pilot position, cleaner antenna mounting, correct polarization, enough VTX power, sensible frequency choice, and disciplined flight lines.
Share:
Understanding FPV Video Frequencies: 2.4GHz vs. 5.8GHz
VTX Power Output Explained: 25mW vs. 800mW vs. 1W+